Product Details
Placement of the Healing abutment
After radiographic verification, a healing abutment screw is then placed, after uncovery two stage surgical protocol. Or in lieu of a Cover screw in a single-stage (non submerged) protocol. Prior to seating the Healing Abutment, thoroughly irrigate the inside of the implant to remove blood and other debris. An antibacterial paste may be placed on the screw portion to decrease the risk of bacterial growth within the implant body during the healing phase. Following seating, irrigate the surgical site and adapt the soft tissue in normal surgical fashion.
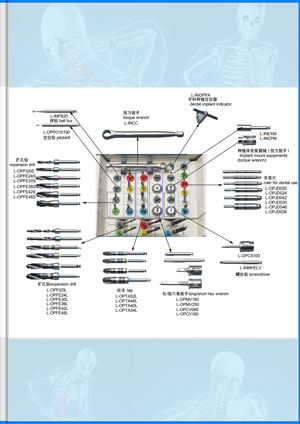
A gingivectomy or apically positioned flap technique may be used to reduce the soft tissue thickness and to decrease sulcular depth around the implant. All Dentalis® keys are design that the tip is con to grab the healing cap for easy carry the Cover Screw onto the implant and thread it into place. Use the Hand Driver-tighten (10-15 Ncm ) with the 1.25mm- 050” Hex Driver. Dentalis implant is offering special tool for measuring the high level of the tissue for better esthetic result and wide range type of Healing abutment. Take precautions to prevent the Healing Abutment from being aspirated by the patient. Do not re-use Healing abutment.

 +86-021-50327060
 zq@lzqtech.com
 Medical Instrument
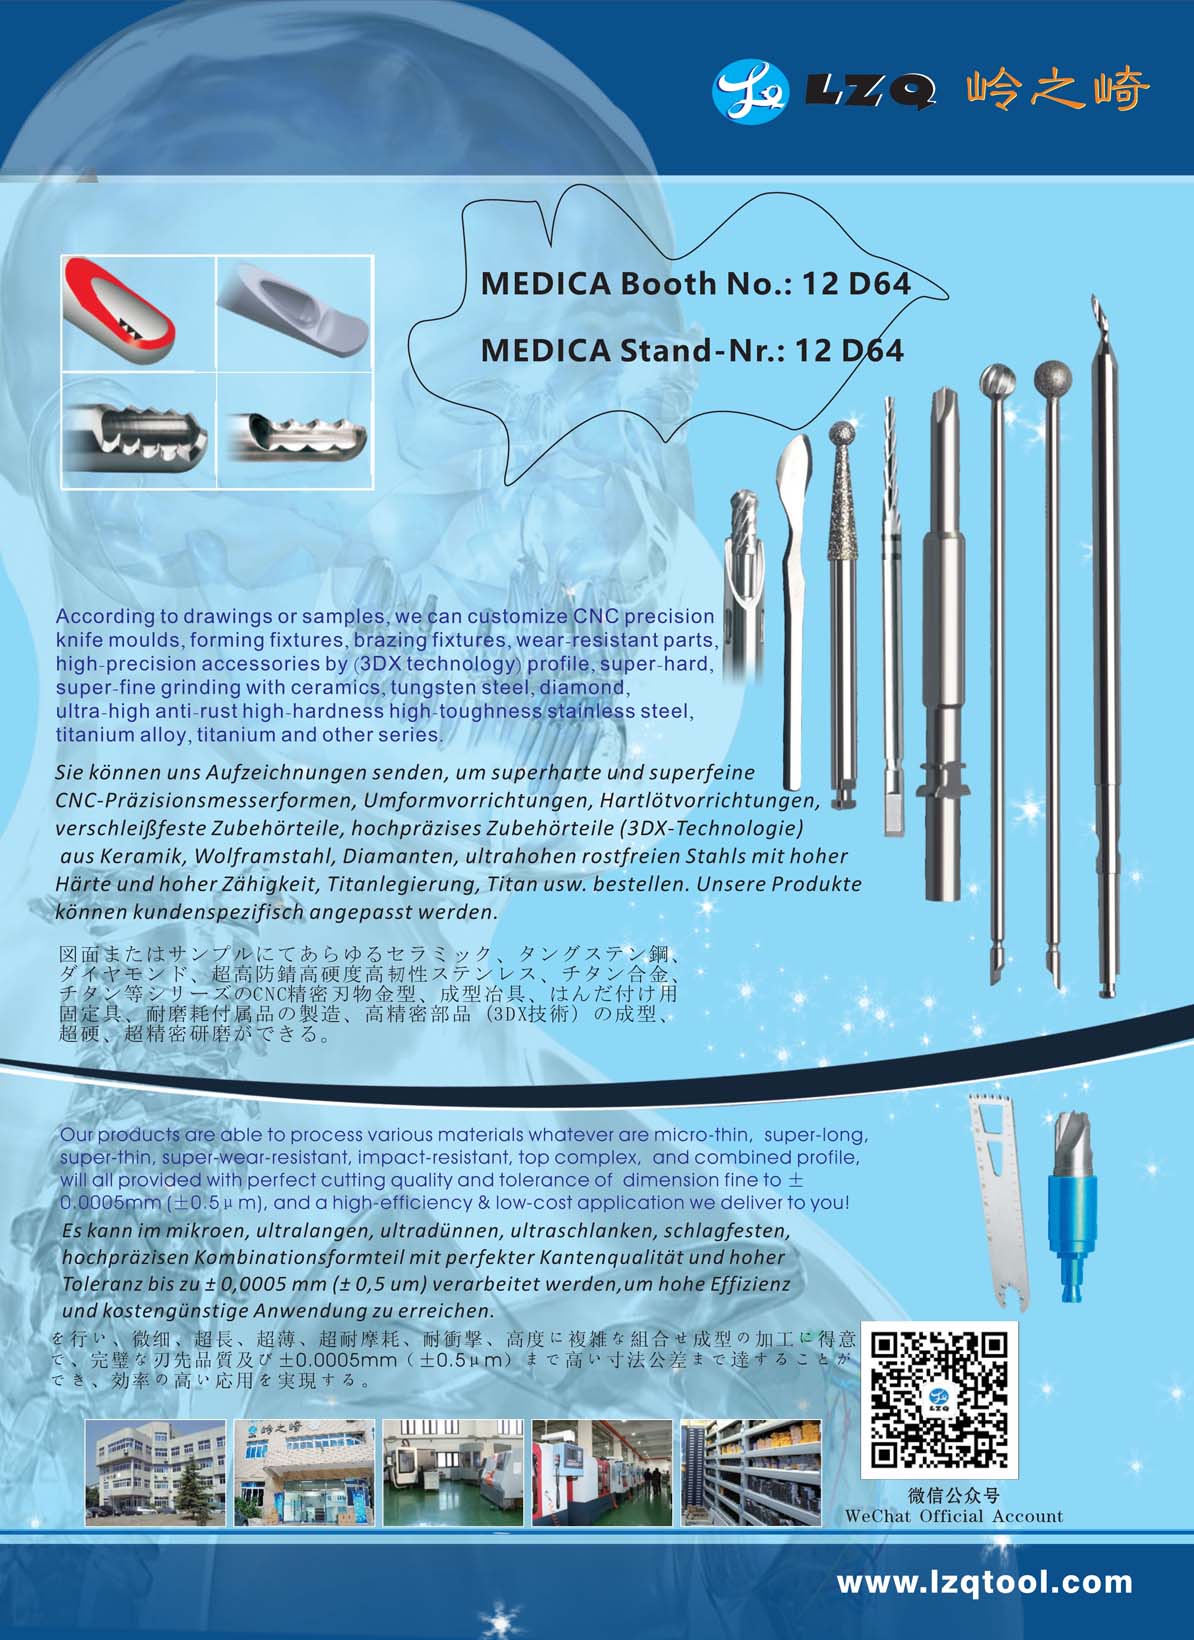
We can achieve perfect edge quality and dimensional tolerance up to±0.0005mm (±0.5μm) in the process of micro, ultra-long, ultra-thin, super-abrasive, impact-resistant, high-precision and combined ... VIEW MORE
 Implant
Corresponding and matching drills and tools of different types, forms, shapes, structures can be high precisely ground to mold according to different brands and different types of implants forms, shap... VIEW MORE
 Cutting Tools
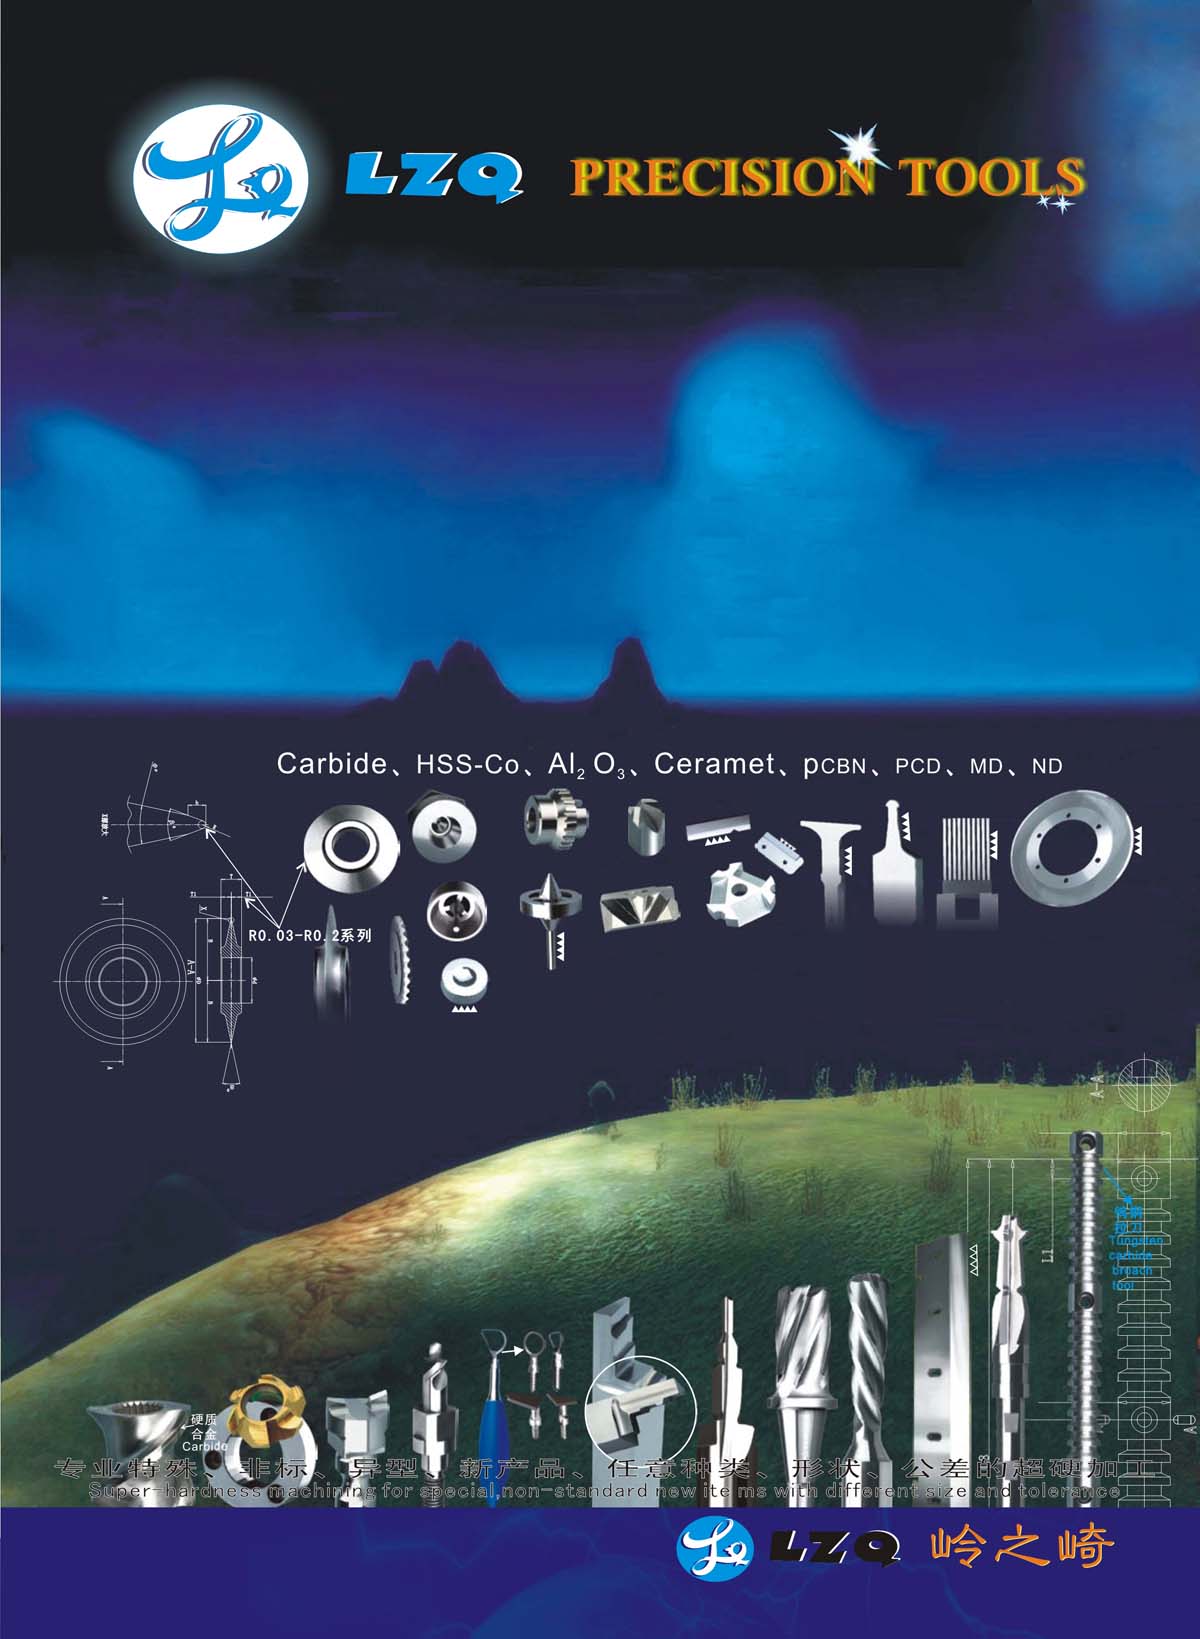
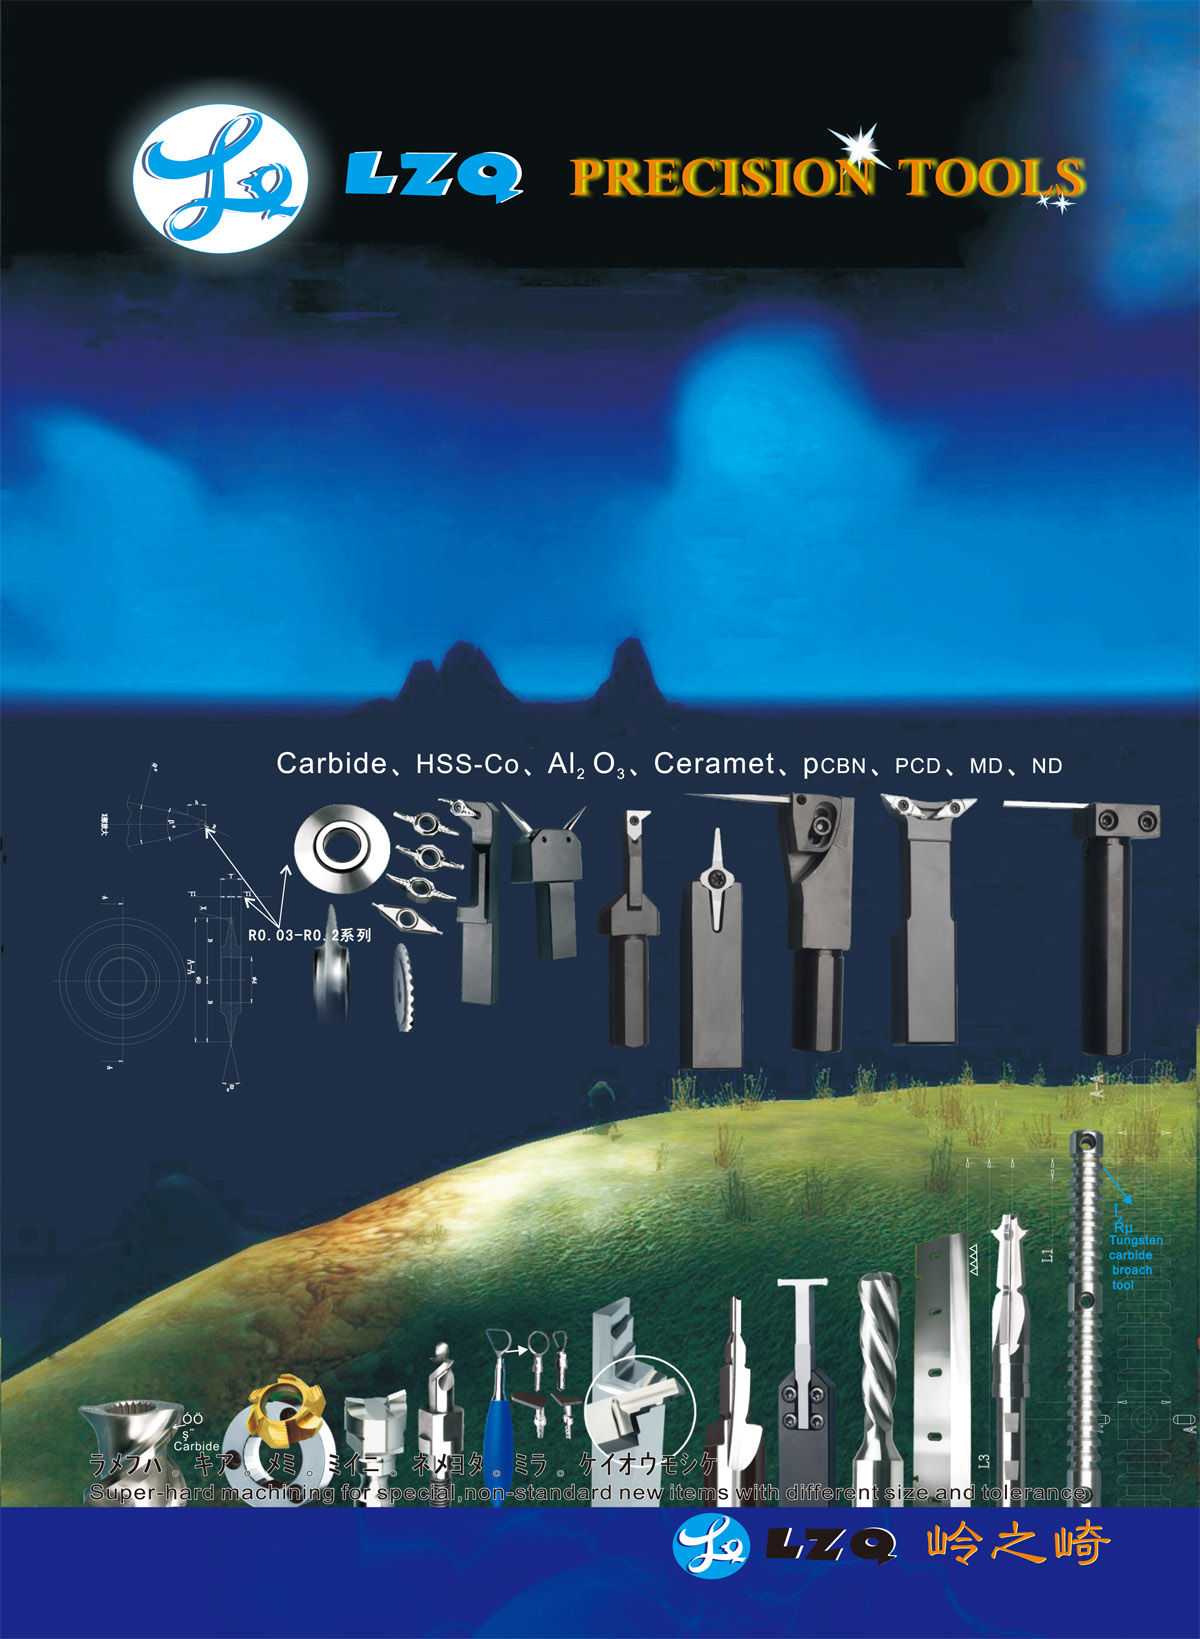
Super-hardness machining for special, non-standard new ite ms with different size and tolerance. VIEW MORE
 Accessory Parts
we can customize for you according to your samples or drawings for any manufacturing of ceramic,carbide,stainless high-speed steel, stainless steel, titanium alloy, titanium diamond, etc series, hig... VIEW MORE


 +86-021-50327060
 NO.1269 Plant, Jinhu Road, Jinqiao Export Processing Zone, Pudong New District, Shanghai, China.
