Product Details


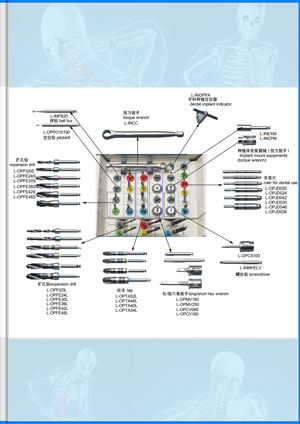
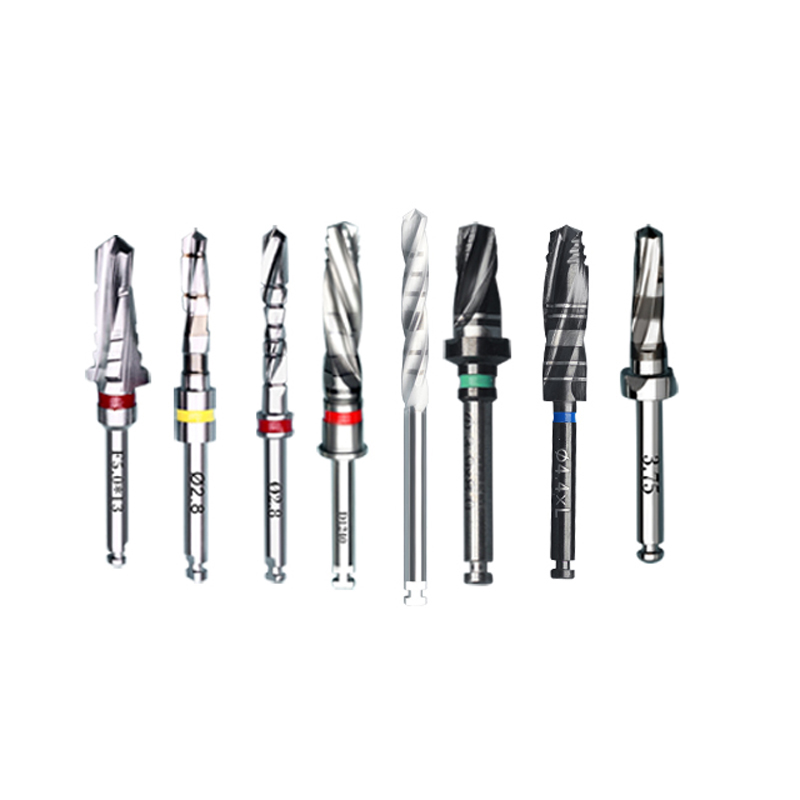
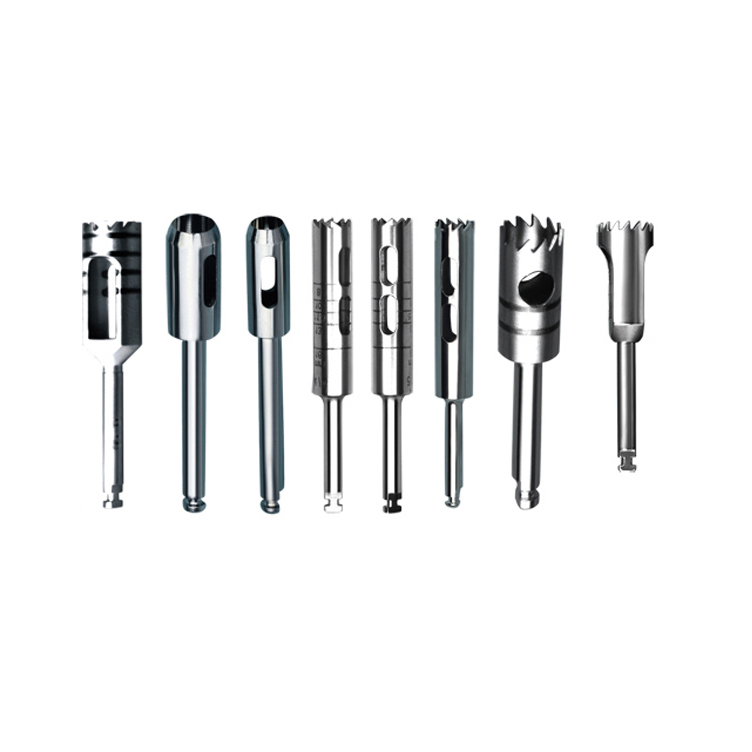
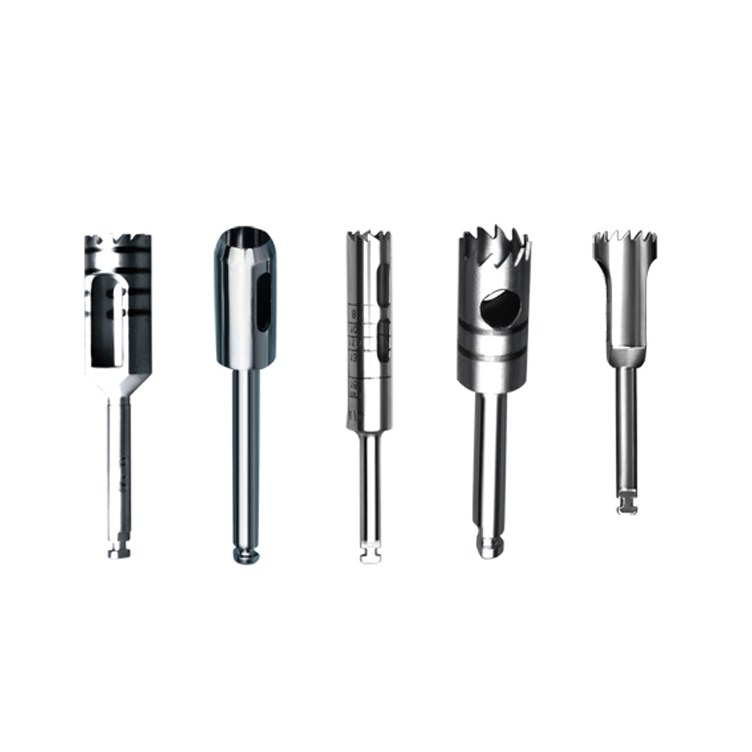
Tool realizes the fixture's screw threads for D1 bone quality.
Functions as a wrench by using the tap driver as an adaptor.
Use to reduce applicable torque on D1, D2 bone
When selecting tap drill, the length of tap drill should be one step less than the fixture
mostly make standard, general-use, ordinary products, from which we are not so competitive. But we can replace or simulate the specialized, high-precise part, fixture, cutting tool, with special material, according to the requirements of drawings, samples. After once to twice test and improvement, we can make the same item as the first-class original one, even better. And this requires great understanding and support for us.
Most implant systems have 5 simple steps for placement of each implant:
1. Drilling at low speed: The pilot gap is expanded by way of the use of step by step wider drills (typically between three and seven successive drilling steps, depending on implant width and length). Care is taken now not to injury the osteoblast or bone cells by way of overheating. A cooling saline or water spray keeps the temperature low.
2. Placement of the implant: The implant screw is placed and can be self-tapping, otherwise the organized web page is tapped with an implant analog. It is then screwed into a location with a torque managed wrench at a unique torque so as no longer to overload the surrounding bone (overloaded bone can die, a condition known as osteonecrosis, which may also lead to failure of the implant to completely combine or bond with the jawbone).
3. Tissue adaptation: The gingival is adapted around the whole implant to furnish a thick band of healthful tissue around the recovery abutment. In contrast, an implant can be 'buried', the place the top of the implant is sealed with a cowl screw and the tissue is closed to totally cowl it. A 2ndprocedure would then be required to find the implant at a later date.

 +86-021-50327060
 zq@lzqtech.com
 Medical Instrument
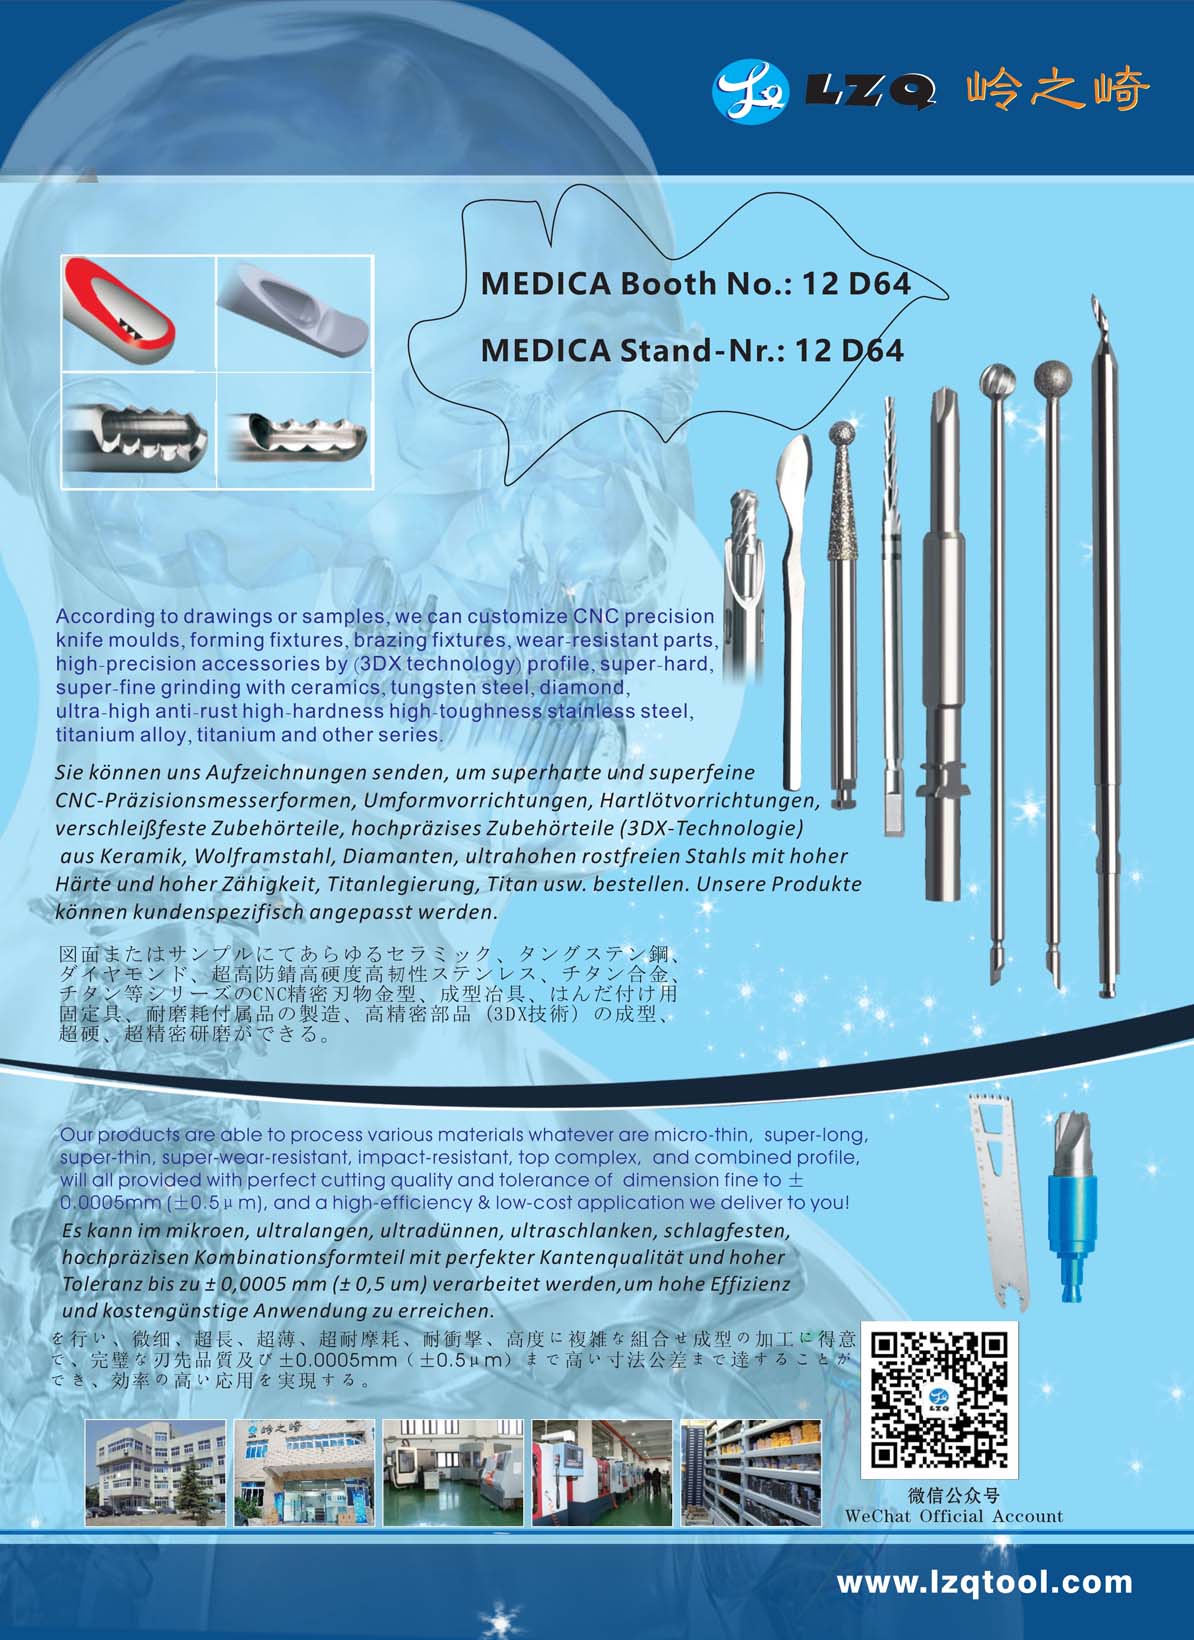
We can achieve perfect edge quality and dimensional tolerance up to±0.0005mm (±0.5μm) in the process of micro, ultra-long, ultra-thin, super-abrasive, impact-resistant, high-precision and combined ... VIEW MORE
 Implant
Corresponding and matching drills and tools of different types, forms, shapes, structures can be high precisely ground to mold according to different brands and different types of implants forms, shap... VIEW MORE
 Cutting Tools
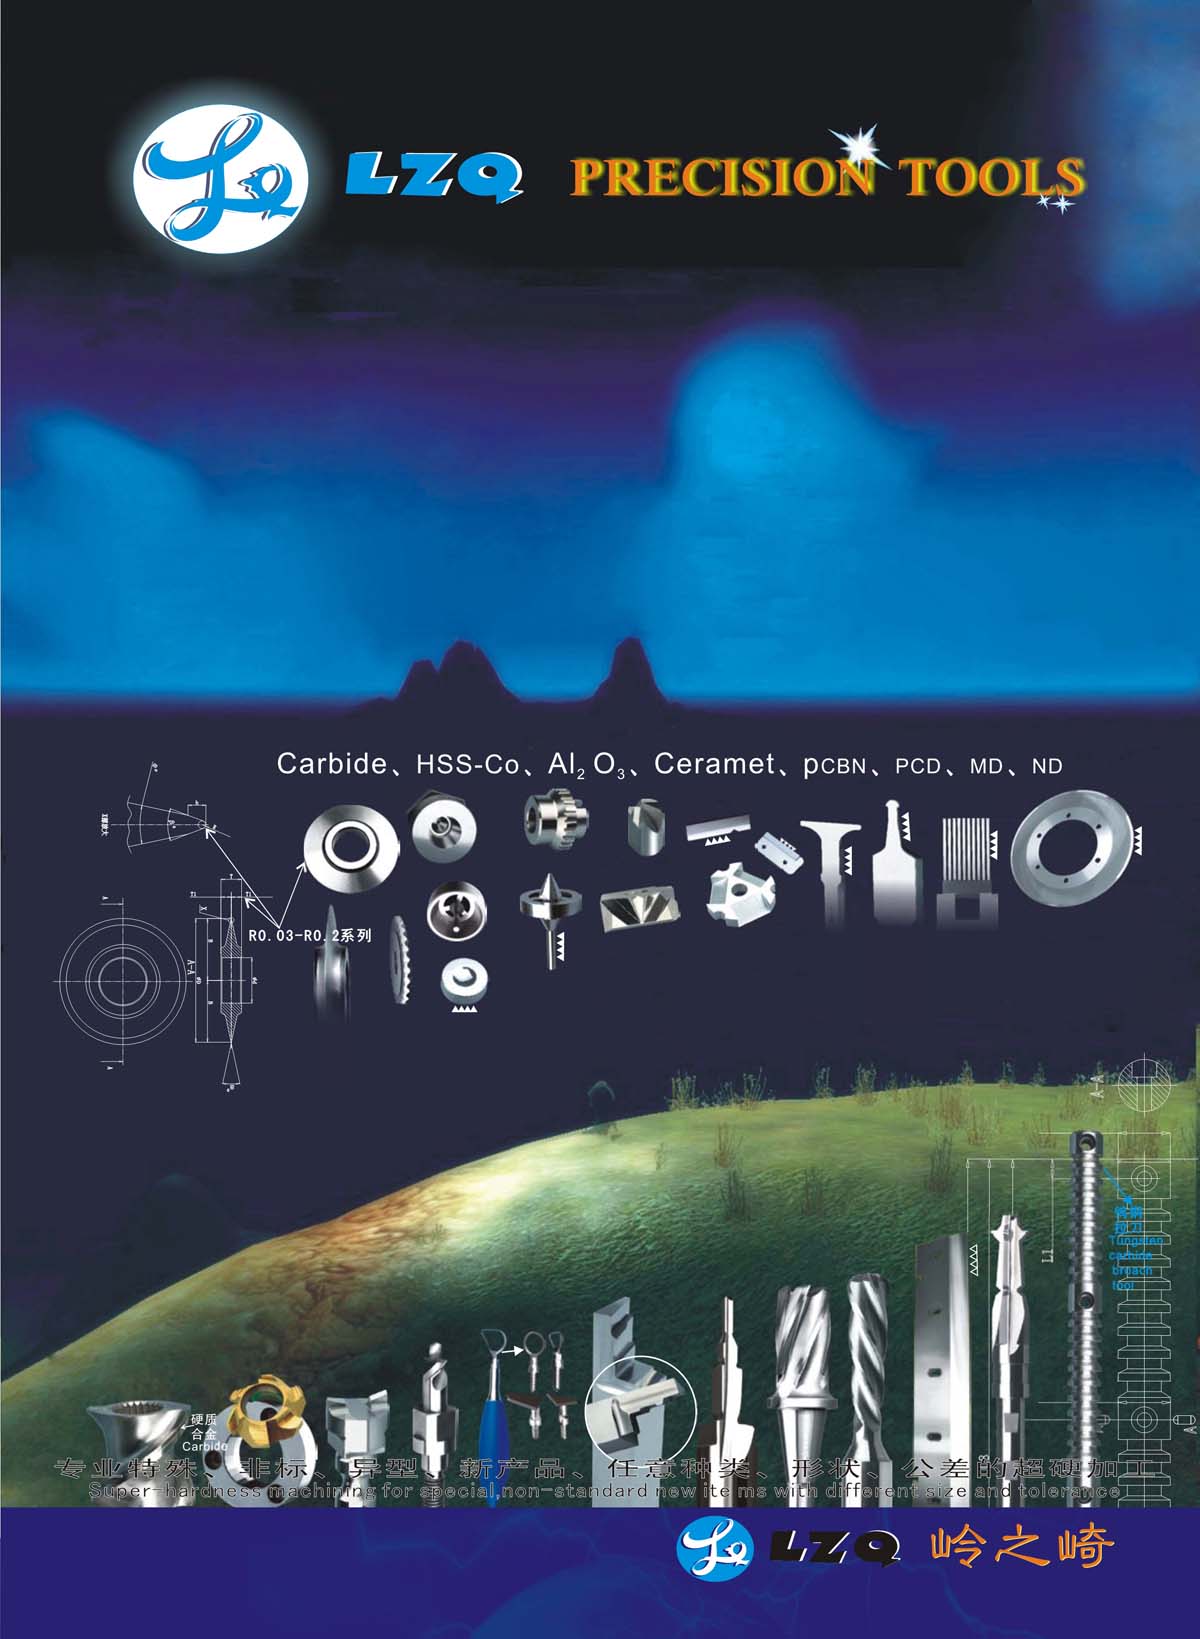
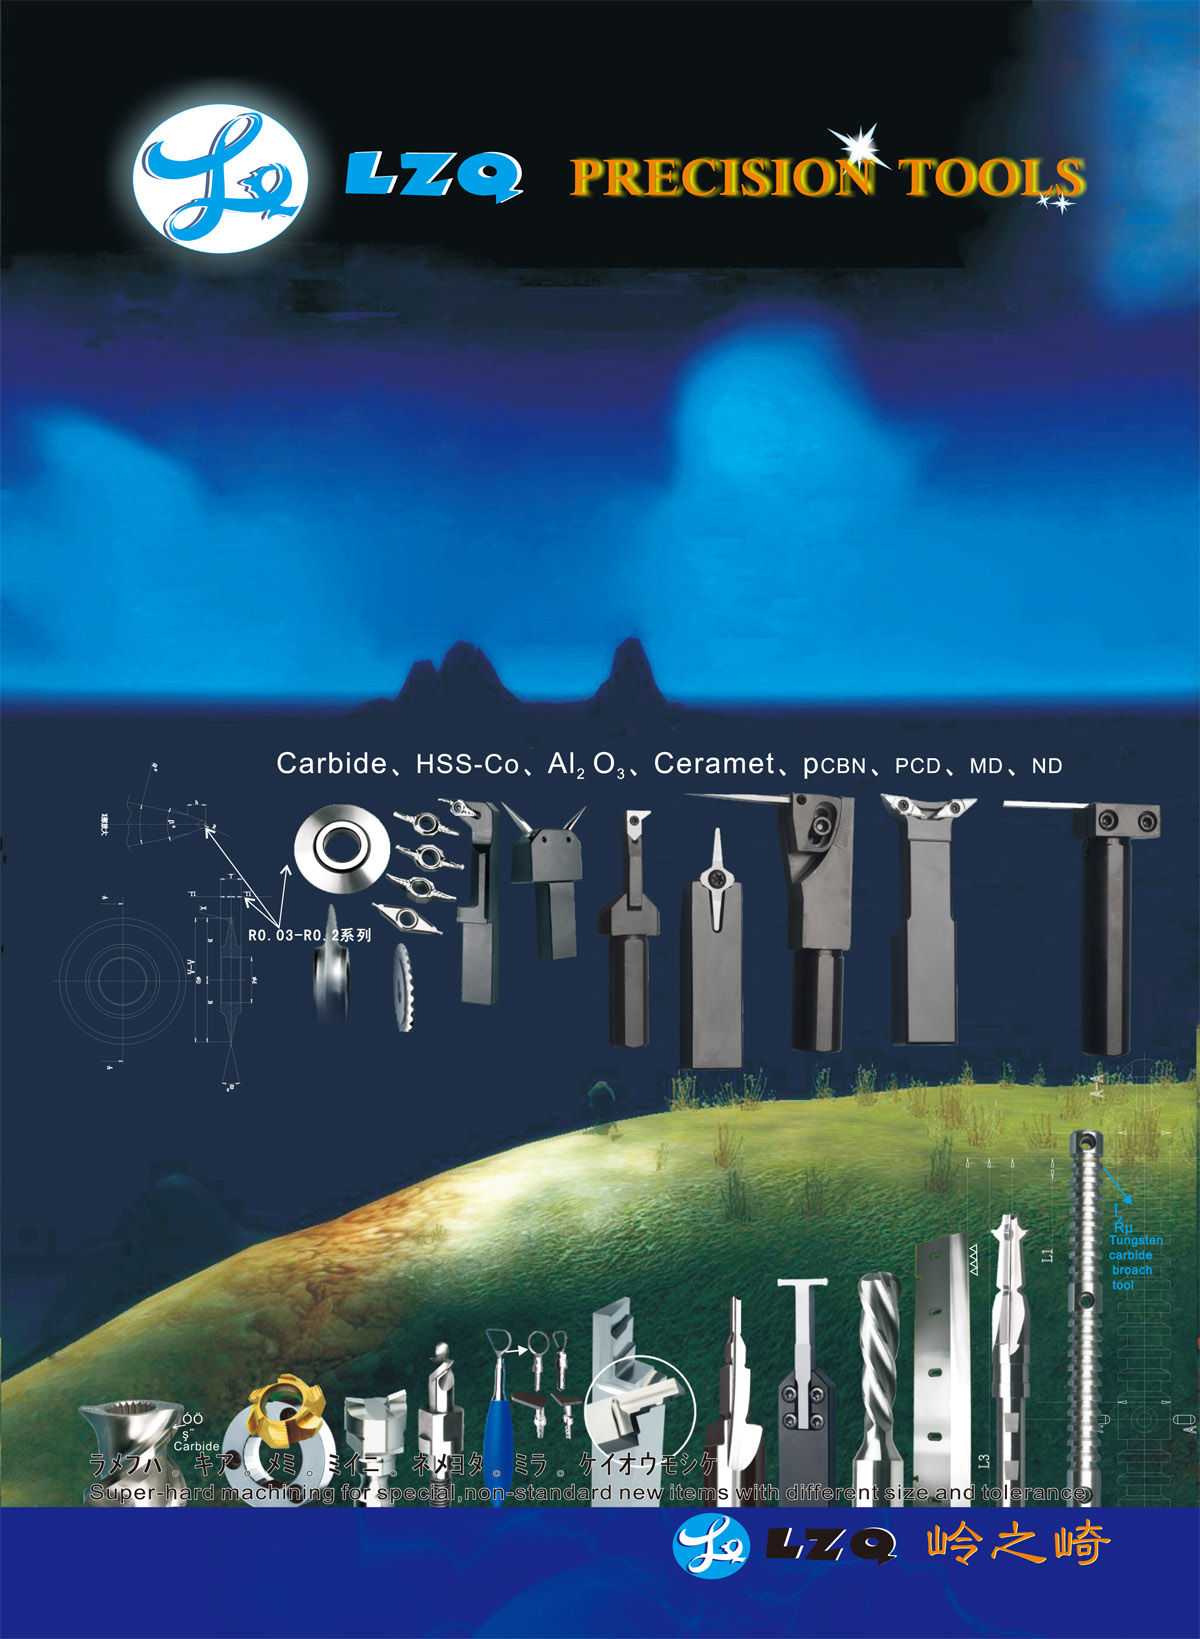
Super-hardness machining for special, non-standard new ite ms with different size and tolerance. VIEW MORE
 Accessory Parts
we can customize for you according to your samples or drawings for any manufacturing of ceramic,carbide,stainless high-speed steel, stainless steel, titanium alloy, titanium diamond, etc series, hig... VIEW MORE







.webp)




 +86-021-50327060
 NO.1269 Plant, Jinhu Road, Jinqiao Export Processing Zone, Pudong New District, Shanghai, China.
